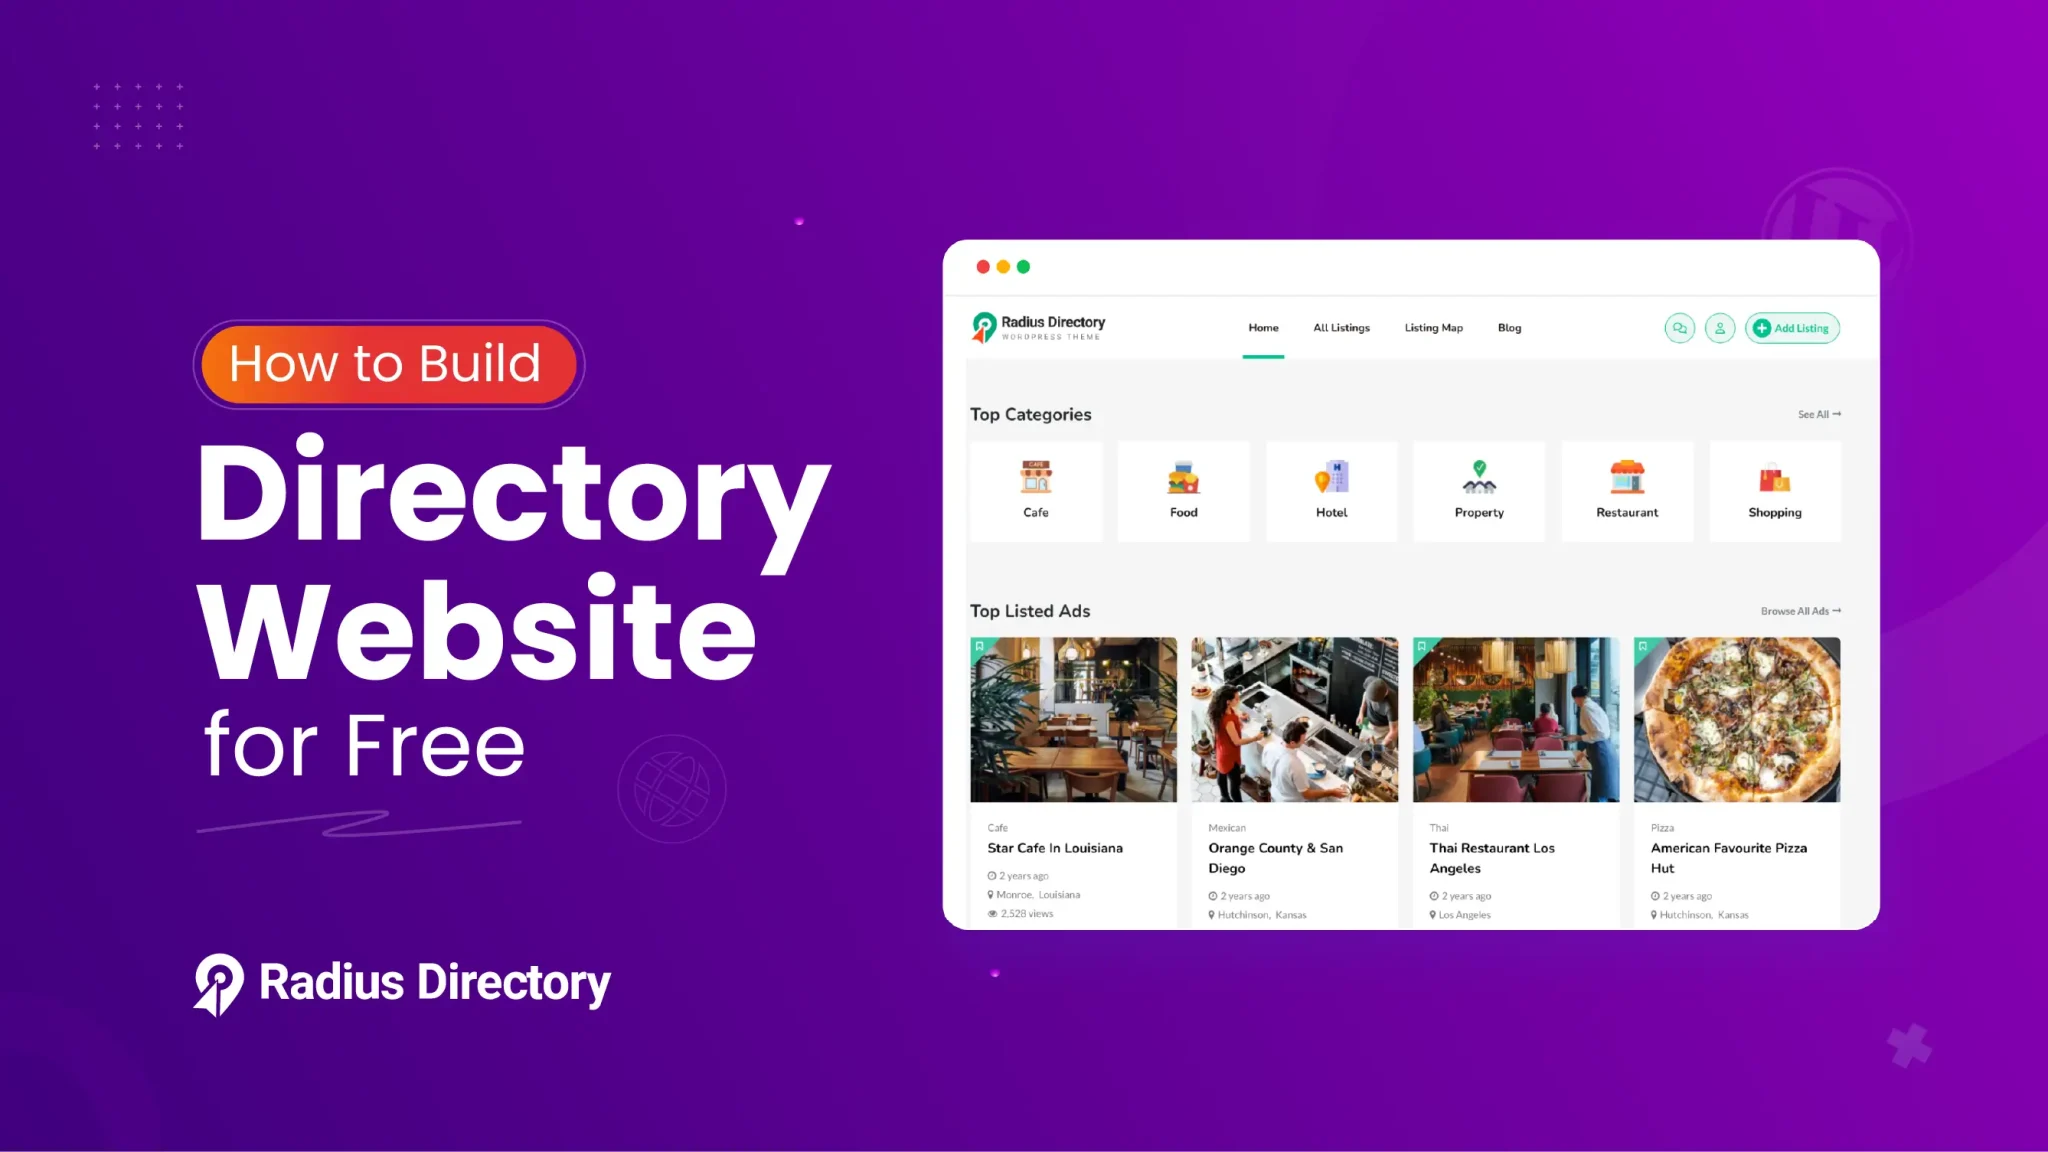
How to Build a Directory Website for Free
The popularity of directory websites is thriving. It’s a perfect platform for people to find their desired products efficiently. Plus, it can be a great monetization tool through paid listings.
Hence, you might consider building one. Now, you may think developing a directory website is costly and time-consuming.
Here’s the good news: You don’t require a developer or a big budget to build one. You can create a fully functional WordPress website through WordPress, directory themes, and plugins.
In this article, you’ll explore the step-by-step process of how to build a directory website for free. We will mention easy-to-use tools and no-code solutions.
Let’s move forward.
What Exactly is a Directory Website?
A listing website is also known as a listing website. It is an all-in-one platform to manage lists of resources, services, or businesses based on specific categories, tags, or locations.
These websites are important to make information easily searchable and accessible. Users easily find what they are looking for, whether it’s a local restaurant or a yoga studio. They can get detailed information about the contact number, directions, services, and customer reviews.
Some popular directory website examples are Yelp, eBay, and Avvo. These platforms serve as the central hub for providing trustworthy information.
Why Should You Develop a Directory Website?
The world is digitalizing. People always check the internet for almost everything. A directory website makes the search process faster and more organized. Users find all the essential information in one searchable platform.
But the main twist? Directory websites aren’t just helpful for users- they are super beneficial for owners too.
One of the biggest advantages is the possibility of earning extra money. Many listing websites earn money through paid listings, classified ads, and featured placements. It can be a great side hustle if you are determined to develop a catalog website.
On the other hand, a directory site helps you build connections with local businesses and customers. This engagement increases your site’s local visibility in search results.
Most importantly, they attract high levels of organic traffic. People always prefer these websites to find online businesses.
Step-by-Step Guide on How to Build a Directory Website for Free
We assume that you’ve already completed the domain, hosting, and WordPress installation parts. Now, get ready to launch your directory website for free.
We’ll guide you through each step.
1. Choose Your Niche
The most important step before building a directory website is selecting a particular niche. A niche aids you in targeting a specific audience. You can stand out from general competitors and build a strong authority.
Don’t focus on listing everything; look for solving a clear need within a defined market area.
Suppose you select a local restaurant directory, an event spot listing, or a pet services directory.
You can also choose industry-specific directories, such as freelancer platforms or fitness trainer directories. If your niche is precise, it is easier to attract the targeted customers.
Before determining your niche, consider these key points:
– Your choices and skills.
– Market demand and search trends.
– Availability of local or online businesses.
– Monetization possibility (classified ads, paid listings, sponsorships)
A niche directory improves SEO by concentrating on specific keywords. It also improves the trust among users looking for reliable, curated listings.
Once you’ve picked your niche, you can focus on the rest of the development process.
2. Install a Directory Website Theme
A WordPress theme plays a crucial role in displaying the overall visuals of your listing website. It manages the presentation and layout designs of your content. Furthermore, it controls the listings’ appearance, user navigations, and responsiveness on different devices.
A well-chosen theme upgrades aesthetics and improves functionality. When selecting a directory theme, there are several key factors to consider:
User Experience
Make sure the theme offers a clean, modern design and interactive navigation. It should be easy for users to find and submit listings.
Responsiveness
The theme must be mobile-friendly and work smoothly on all devices.
Plugin Coordination
Select a theme that works perfectly with popular directory plugins, such as Classified Listing, Directorist, or Business Directory Plugin.
Customization Options
Search for themes that allow you to change colors, logos, fonts, and layouts without coding knowledge.
SEO Optimization with Speed
A lightweight theme improves speed and loads faster for users. It also ensures perfect SEO optimization for your directory to rank better.
In a nutshell, you are now mindful of the key features of a directory theme. There are a few free themes that support all of the features discussed above.
The Radius Directory theme is completely free to use. This theme covers all types of business directory niches- including restaurants, offices, hotels, and local businesses. The theme has a clean and modern look to attract users.
To install the theme, go to Radius Directory– Free Directory WordPress Theme
Click on the ‘Free-Purchase’ button. This is a free theme for the classified listing plugin.


After clicking the button, you’ll go to the checkout page. If you have an account, insert your username and password to log in to your Radius Theme account.
If you already have an account, then insert the username and password to log in. Hence, if you don’t have an account, then follow the steps below.
Input the personal details like First Name, Last Name, and Email Address. These fields are mandatory to fill out. These fields aren’t mandatory if someone already has an account.
After that, hit the checkbox of ‘Terms and Conditions and Privacy Policy’.
At the end, tap on the “Free Download” button.

You will get a purchase confirmation message and an email. You can download the zip file from both places. Meanwhile, you’ll also receive a license key that you’ll need to activate this theme.

Anyway, now, to install the theme, go to your WordPress Admin Dashboard. Then navigate to Appearance > Themes.

After that, click on the “Add Theme” button.

You have already downloaded the free Radius Directory theme. Next, click the “Upload Theme” Button.

Then select the radius-directory.zip file from your computer and hit “Install Now”.

Now, hit the ‘Activate’ link.

After activating the theme, you’ll receive suggestions to install a few recommended plugins necessary for overall website functionality.
This includes plugins like Classified Listing, RT Framework, Radius Directory Core, Elementor, and an RT Demo Importer.
To complete the process smoothly, simply click on the “Begin Installing Plugins” link to install them all at once.

Afterwards, you’ll move to the “Install Required Plugins” page. Here, you need to tick the ‘Plugin ’ checkbox.

Now, from the bulk action drop-down menu, choose “Install Now” and click the ‘Apply’ button.

After completing the installation process, you have to activate these plugins by following the same process of installing all plugins at once.

If you want to build the website with just one click, we’ll suggest you import the demo content.
This process will erase all the present data, so implement this method only on a fresh website. This system is super fast because you just need to click once. Then, everything will import automatically.
You don’t need to follow any manual configuration. If you want an exact clone of the demo website, then this method is suitable for you.
From the WordPress Admin panel, first move to Plugins -> Installed Plugins. Then, head to RT Demo Importer and click on the “Install Demo Contents” link.

After clicking, you’ll move to another page. You have to click the ‘Install’ button. This will take some time to import all the demo content.

That’s it! You’ve successfully uploaded the theme.
3. Generate Categories for Your Website
Every well-functioning catalog website needs to be user-friendly and easy to navigate. Visitors should be able to locate the listings almost instantly.
So, you need to organize the listings properly on your website. It’s simple to structure your content using categories and locations. Developing well-defined categories assists users in quickly filtering listings based on their desires.
To generate a new category, move over to your WordPress dashboard and navigate to:
Listings > Categories. You’ll land on the “Listing Categories” dashboard. Here you can customize several fields, dropdown menus, and options.
Start by entering the category name in the ‘Name’ field. Next, insert a custom slug in the ‘Slug’ box for SEO-friendly URLs. Assign a “Parent Category” to create a hierarchy.

After that, add a brief and clear description in the ‘Description’ area to help users and search engines understand what the category is about.
Determine the category ‘Order’. Also, fix the category type, such as Sell/ Buy/ Exchange/ Job/To Let.
Fix the “Price Unit” depending on the particular category. This unit will display on the front end.
To increase the visual appeal, move to the ‘Image’ section and click the “Add Image” button to upload an image of the category. Use the ‘Icon’ dropdown menu to allocate a relevant icon that visually presents the category type.
When everything is in place, click the “Add New Category” button to publish it.
4. Add Locations for GEO-Based Search
Just like categories, adding location filters is important. Having locations is mandatory if you want to build niche-based listing websites like car classified ads or local business listings.
With the Classified Listing plugin, you can allocate specific locations to listings. It will be easier for customers to find exactly what they’re searching for.
To add a new location, hover over your WordPress dashboard and go to:
Listings > Locations. From here, simply:
– Insert the location name.
– Set a parent term to create a hierarchy.
– Write a proper description and enter the order amount.
Once everything is done, click the “Add New Location” button to save the updates.

Location listings have multiple benefits. It improves the search and filtering experience, permitting visitors to browse listings in their specific town, region, or even neighborhood.
This feature is especially helpful for local SEO. It also ensures your website stays relevant to regional audiences.
5. Create Listings as Admin
At this stage, we’ll show you how you can create your first listing on your neighborhood directory site. To do so, head to WordPress Admin Panel > Listings > Add New Listing.
Watch the animation below to see how we utilize the listing editor and publish our first listing.

6. Customize Your Directory Site
After building the website, the next step is to customize the site according to your brand guidelines.
You need to change the default demo logo and update the color scheme. Fine-tuning your site’s appearance can boost its professionalism and user appeal. Hence, professionally customize your listing website.
As you are using the Radius Directory theme, the customization is simple and code-free. First, move to Appearance > Customize from your WordPress Admin Dashboard.

This will open the WordPress theme customizer, where you’ll get different settings such as General, Blog, Header, Typography, and more. You can customize specific design elements from each tab.

To upload your site’s logo, click on the ‘General’ tab. Inside, you’ll see a “Change Logo” button. This button allows you to upload your logo file and replace the default demo version.
You will also get options to upload additional logo types if needed, such as light or mobile logos.
Next, go to the ‘Color’ tab settings.

From here, you can change your website’s primary, secondary, and background colors. This will increase your site’s visual appearance.

Feel free to explore other settings if required. Each section will give you deeper control over your site’s visual layout.
Once you’re satisfied with your customizations, click the ‘Publish’ button at the top of the panel to save your changes.
That’s it! Your directory website now reflects your unique branding, all credit goes to the flexible and beginner-friendly Radius Directory theme.
7. Add Listings As Users
Now, you’ve customized your listing website. It’s time to start uploading the listings.
Users can easily submit their listings by clicking the “Add Listing” button on the frontend of your website.

This will take them to a submission. After that, they’ll need to fill out the required fields—such as title, description, price, location, category, and contact details. You can also include image uploads, business hours, a map, and social profiles.
We’ve provided a detailed video below for your better understanding.

8. Set Up Payment Gateways
Planning to monetize your directory website? First, you need to configure the payment method.
While the free version of the Radius theme offers limited options, you can still begin accepting payments via offline bank transfer, SSL, and PayPal. This is an effective solution for early-stage projects or local listings.
To set up payments, follow these steps from your WordPress dashboard:
Classified Listings > Settings > Payment > Checkout Options.

In the checkout options, you can charge users for posting classified ads on your site. You will also get the options for currency customization.
Here, you can customize offline payments. Write a description and detailed instructions to make the offline bank transfer process smooth.

Once completed, make sure to click “Save Changes” to apply your settings.
Note: The offline bank transfer method is fully manual.
When a user adds an order using this option, you’ll receive a notification. However, the payment won’t be processed automatically. You need to check the bank account and update the order status.

Now, move to the PayPal settings tab. Here, you’ll find many setting options to properly integrate PayPal as a payment method. And Yes! It’s available in a free version!
First, enable PayPal so users can select it during checkout. Next, insert a title for the payment option. Add a short description and enter your PayPal email address. For further customization of the monetization process can explore the link below:
https://www.radiustheme.com/docs/classified-listing/docs/payment/checkout-option/
9. Promote Your Directory Website
Once you launch your directory, it’s time to focus on getting traffic. A well-promoted Catalog website can become a go-to local hub. Here’s how to increase your audience:
Community Engagement
Focus on offline promotion. Disperse promotional materials like leaflets or business cards at cafes, libraries, and local markets.
Partner with local associations and small businesses to display your directory’s QR code or URL. The more visible your site is in physical spaces, the more likely people will visit it.
Use Social Media
Generate social media pages for your listing website. Publish spotlight posts about featured listings, updates about businesses, and community announcements.
Tag businesses and encourage them to reshare your content to expand your reach organically. Use relevant hashtags to increase discoverability.
Generate Video Content
Short, captivating, and interactive videos perform well across platforms like Instagram, TikTok, and Facebook.
Record business details, community interviews, or behind-the-scenes footage of different events. These videos have the power to personalize your brand and build trust with your audience.
Collaborate with Influencers and Media
Be in touch with influencers, podcasters, or digital news outlets. Offer to feature their content in exchange for a shoutout.
A mention from an influencer or publication can bring a stream of credibility and visitors.
Prerequisites for Building a Directory Website
Before building a catalog website, it’s important to have the right tools and set up. Don’t worry! We’ve compiled the necessary elements for your ease. You can easily get started with little or no upfront investment.
Domain Name
The domain name is the online address of your website. You need to choose a simple and easy name. The first impression of the viewers depends on it. So, select a memorable name that will attract visitors and reflect your website’s vision.
Web Hosting
Think of this as the house of your website. This is the place where you will store the website files. Visitors can easily access the files from here. Some reliable hosting providers are SiteGround and Hostinger.
Website Builder
There are some in-demand website builders like Wix, Squarespace, and Weebly. They offer easy drag-and-drop features to develop simple websites quickly. While they’re beginner-friendly, sometimes they lack flexibility for more complex projects like directory sites.
That’s where WordPress stands out. It’s a free and user-friendly CMS (Content Management System) platform. You can easily maintain content, pages, and settings without coding knowledge.
Directory Website Theme
Choose a theme that suits your website features perfectly. You can customize the theme according to your brand color, content, font, and layouts.
Directory Plugin
At last, you’ll need a plugin. This is the secret ingredient of your listing website! A plugin can boost your website’s functionality.
For a free directory theme and plugin, we would like to recommend “Radius Directory Theme” and “Classified Listing Plugin”. Selecting a free theme specially built for a listing website can enhance your site’s visuals and user experience.
Use Cases of a Directory Website
Directory websites have a wide range of functions. They simplify access to information, increase business visibility, and ensure smooth user experiences. Below, we’ve provided some common and effective use cases of listing websites:
Locating Businesses with Integrated Maps
Through directory websites, users can look for businesses in a specific location with maps and directions. Platforms like Google Maps, Yelp, and FourSquare show businesses nearby, with their contact info, opening hours, and real-time directions.
This system is especially helpful when navigating a new city or neighborhood and looking for particular services or places to visit.
Accessing Verified Contact Information
To locate and access verified contact details such as contact numbers, email addresses, and present locations, business directories are useful.
Niche-based directories like Boston Magazine’s display lists of professionals like lawyers, doctors, and designers. Users can easily connect with them. This process offers reliable and quick results.
Explore Reviews and Ratings for Credibility
Directories include customer reviews and ratings. Users can evaluate a business’s credibility by checking it. For example. TripAdvisor displayed real customer feedback to inform users about the overall experiences of a restaurant, hotel, or tourist destination..
Booking Services Directly Through the Platform
Users can book services directly on many modern listing websites. For example, Airbnb permits users to search for accommodation and availability dates. Users can confirm bookings with a simple click. This system increases convenience for users.
Frequently Asked Questions (FAQs)
How much does a directory website cost?
You can build a basic directory website for free. Use a free theme like Radius Directory and Classified listing. Premium features and custom domains can cost up to $50–$300 annually.
Are directory websites still profitable?
Yes, directory websites are very profitable. You need to focus on a specific niche or local markets. Implement paid listings, ad space, featured placements, and affiliate links for the best outcome.
How to monetize a directory website?
You can provide paid listings and charge people for featured ad placements. Additionally, you can generate different membership options with access to listings, features, and content to monetize your web directory site.
What is the most popular web directory?
The most popular directory platform is Yelp. Though Yahoo Directory was the most well-known web directory. But it shut down in 2014.
Final Thoughts
You can effortlessly develop a functional directory website. It doesn’t require a big budget or technical skills.
Keep in mind, if you want to build a free directory website hassle-free and with no coding knowledge, then just follow all the easy steps we’ve described in this article titled how to build a Directory Website for Free.
We hope this guide can benefit you and ease your directory website creation journey. .
So why wait? Let’s start developing your directory website now—it’s free and easier than you think!